How to integrate Tawk.to in Notion
-min.jpg)
If you want to add a Tawk.to live chat bubble on your Notion and Simple.ink websites, then you're in the right place. This guide will show you how to do that.
First things first, let's say that Notion is one of the greatest tools that you can use to organise yourself nowadays.
In case you didn't know already, with Simple.ink, you can build websites out of Notion pages. They're all 100% free, and you don't even need to code anything!
Psst, hey! Didn't make your website yet? Go to our website builder and see what you can do. If that's not for you, then we also have a library of free Notion templates for you.
Is there a chat feature in Notion?
There is no chat feature in Notion yet. Though, with Notion websites for free by Simple.ink, you can add a live chat bubble on each of your pages.
This guide was made to show you how to integrate Tawk.to in Notion, though the process is the same for any other live chat integration.
How to integrate Tawk.to in Notion
To integrate Tawk.to in Notion, you have to copy your live chat bubble's code and paste it in Simple.ink's custom code section. It's that easy!
Keep in mind that this was just the short answer. Let's proceed to the fully detailed explanation!
1. Copy the widget's code
To do this, you have to go to Tawk.to's dashboard, and in the menu on the left side of the screen, you'll have to click on the "Add-ons" section.

Once you've clicked on "Add-ons", the menu on the left side of your screen will expand.
Up next, you want to select the "Chat Widget" section.
-min.jpeg)
Clicked on "Chat Widget"? Now you should see a different page that's 100% related to the live chat.
The section that you care the most on this page is the "</> Widget Code".
-min.jpeg)
See the large block in the right side of the screen? Hover above that, and you'll see the "Copy to Clipboard" section.
What you just did is copying your live support bubble's code.
2. Go to Simple.ink's custom code
Up next, you have to go to Simple.ink's website builder. In the left side of the screen, you'll see the menu with a few options.
-min.jpeg)
The one that you want to select is "Custom code".
3. Paste the code in Simple.ink
The code that you've copied at the first step has to be pasted into the "Custom code" section within our website builder.
-min.jpeg)
Once you've pasted your Tawk.to live support bubble's code, hit the "Save changes" button.
You'll be informed that your code was saved as soon as the green/white box with the following text appears on the screen: "Your custom code successfully saved!".
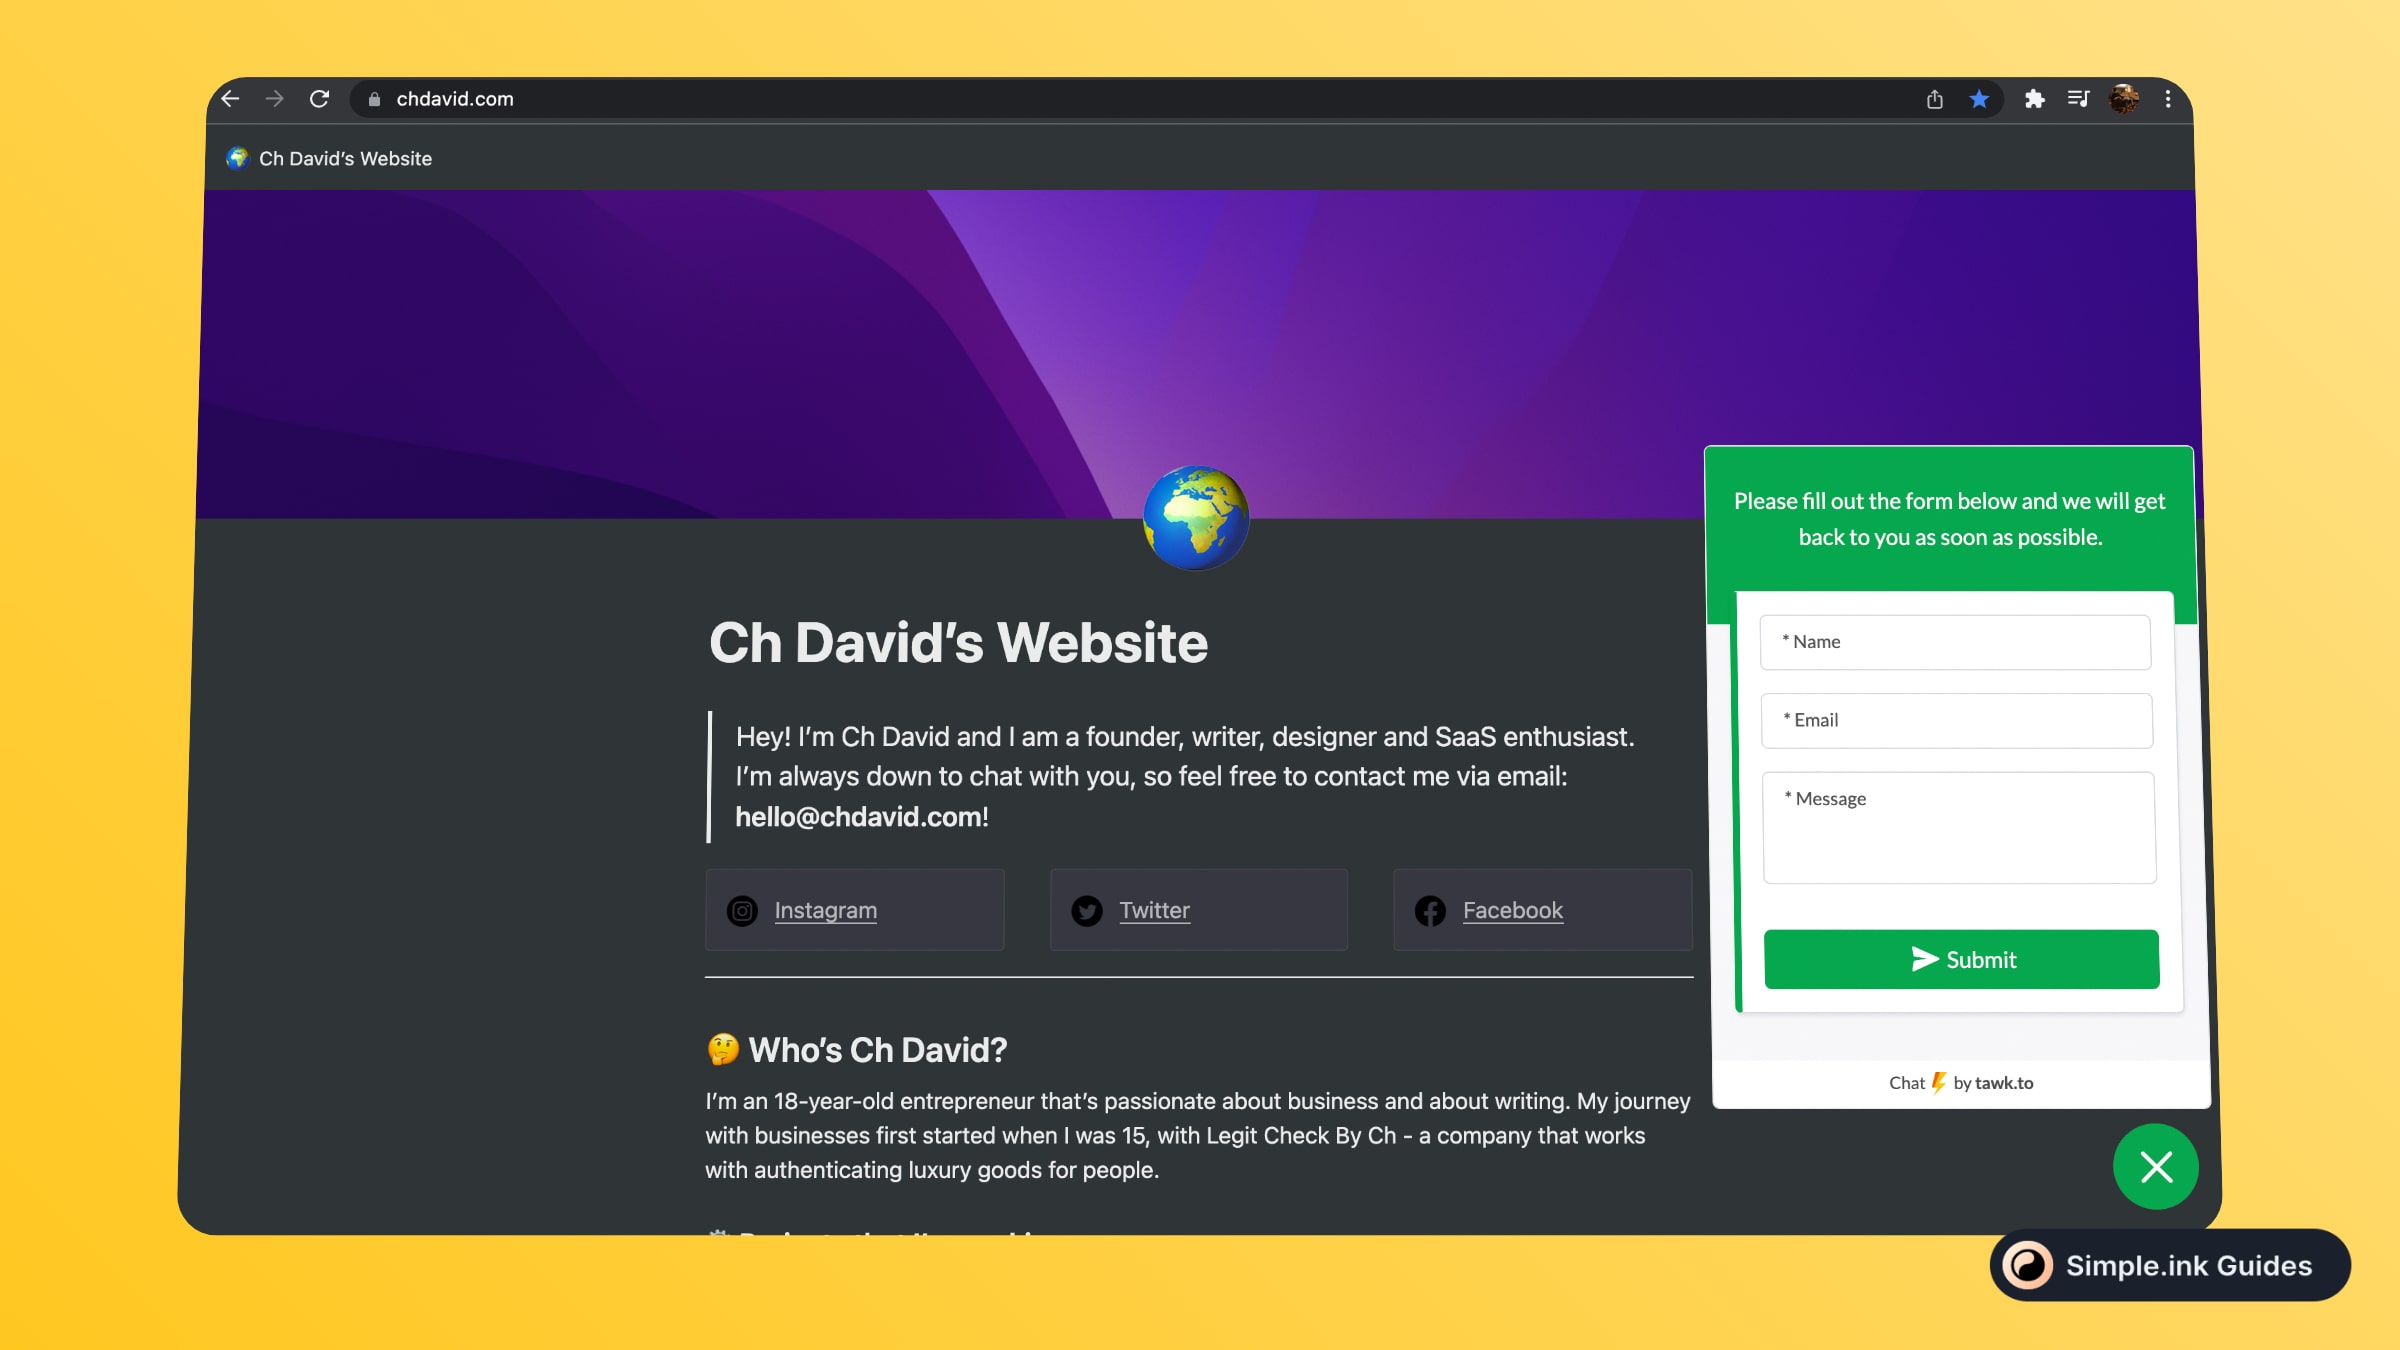
And then, here is the outcome on the public website.

Your website's users can now contact you via live chat. That's so cool, isn't it?
Can you add live chat in Notion?
While Notion doesn't allow you do that, you can add a live chat bubble with Simple.ink's website builder made with Notion. In the "Custom code" section, you can add your live chat widget's code.
Was this guide helpful? If so, then you might like other guides from our library of Notion guides. Thank you for reading this post!
