How To Sync Blocks In Notion (2 Simple Ways)

You might be here because:
- You have a Notion page;
- You need to write the same thing again and again;
- You wish to do it automatically.
Whether that's why you're looking to sync Notion blocks or whether there's another reason, we're going to show you the way to do it now.
By the end of this article, you're going to learn how to sync Notion blocks in less than 10 seconds. Oh, and did we mention that it is free?
How to sync blocks in Notion
Follow these simple steps: open a Notion page, type "/sync" and select the "Sync" block. Then, add as many elements as needed in the block.
To add the synced block anywhere else on your Notion page(s), simply copy the block and paste it as many times as needed.
1. Create a "Sync" block and fill it
The first step is to open the page in Notion where you want to create the synchronised block and make it. There are two ways to do it:
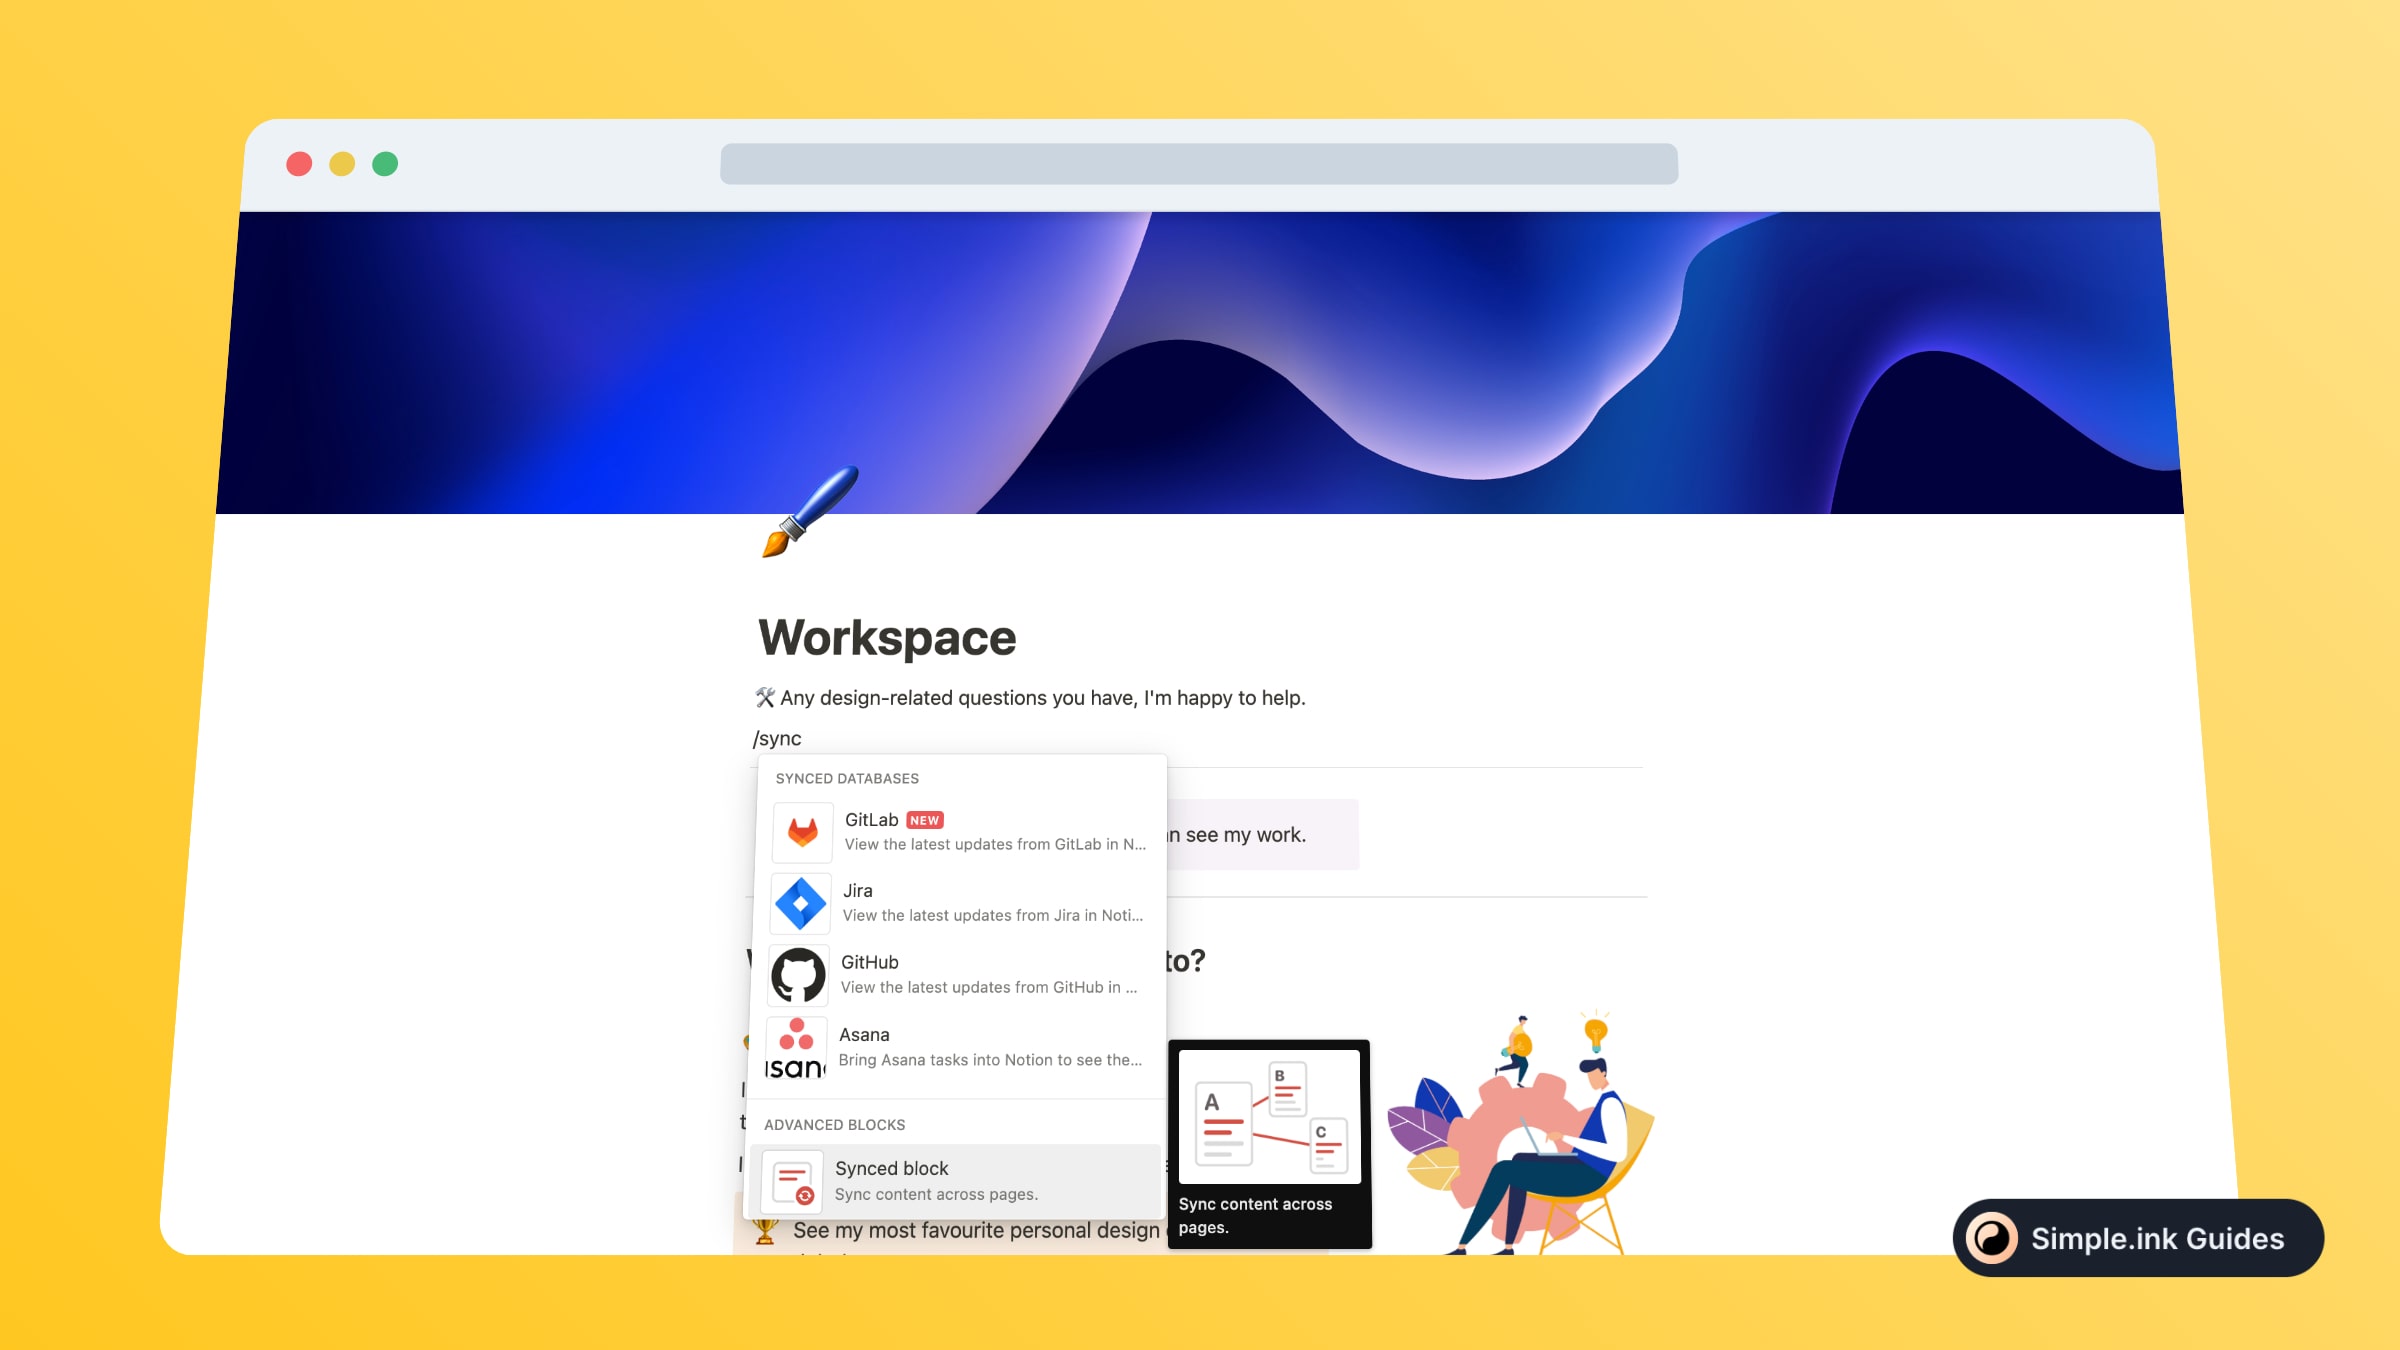
- Type "/sync" → Click "Synced block";
- Type "/" and scroll until you see "Synced block" → Select it.

Both options work just fine — they are essentially the same thing.
Once you've made the block, you need to fill it with contents. Remember that you can add as many different blocks as you need to be synced.
-min.jpg)
For this example, we've only used a mock Heading 2.
Notion's sync function lets you add as many blocks as you need: images, paragraphs, headings, bullet-points, links and so on.
Pro tip: If you make a Notion website with Simple.ink, you can create a website navigation bar using sync blocs to add it across different pages.
You will notice the sync block by the red outline when hovering the block.
2. Copy the sync block
Once you've finished customising the sync block, you need to copy it so you can add it across different pages.
-min.jpg)
To copy the sync block, you simply need to anywhere on the block (or just select the contents) and use CTRL/CMD + C to add it to your clipboard.
Another option to copy a block is selecting the dotted icon on the left side of the block and selecting "Copy link to block", as shown above.
Just like in the previous step, any option you choose works the same.
3. Paste & Sync
Now you should go to the page/side of the page where you want to paste the synced block.
-min.jpg)
To paste the block, simply use one of the following methods:
- Right click → Paste → Select "Paste and sync";
- CTRL/CMD + V → Select "Paste and sync".
Once you've done that, you will see the synced block looking like this:
-min.jpg)
That's it! Now, if you're going to make changes to any of the blocks, they will apply to all of the synced blocks.
Can you sync any blocks?
Yes, Notion lets you sync as many blocks as you need. Feel free to add images, text, links or any other block in a Sync Block.
Remember that if you make a change to any of the synced blocks, the changes will apply to all of the other blocks synced blocks.
That's it! Thank you for stopping by, and feel free to read more of our Notion tutorials.
