How To Integrate Notion Calendar into Your Notion Setup
Since Notion bought Cron and renamed it to Notion Calendar, the Notion community is divided. Many say that it is a great tool and helps their everyday lives. Others say that it is not helpful at all and they would rather see a calendar integration directly inside Notion.
Well, I tried Notion Calendar, and I have to say that I’m part of the first group of people. In my opinion Notion Calendar is a powerful tool that seamlessly integrates with your Notion workspace, allowing you to manage your time, tasks, and events all in one place.
IF YOU CORRECTLY SET IT UP, of course.
So in this article, I’m going to show you how you can set up your Notion calendar so that it will be actually helpful.
First steps first.
Before we dive deeper, of course you should make the obvious first steps:
- Log in to Notion Calendar
- Download Notion calendar (to your PC and Phone)
- Connect you Calendar accounts to see your events.
- Connect your Notion Workspace
Setting up your Notion Calendar
The biggest challenge I faced when I first started using Notion Calendar was making my Notion tasks disappear from the Calendar after completion. And as I saw, a lot of fellow Notion users have the same issue. So let’s see, how we can correctly set up our Notion Calendar, so that when we finish a task, it will disappear from Calendar.
Step 1: Decide on What Databases You Want to Add
Depending on your workflow and you Notion setup, you might want to add different databases to show up in your calendar.
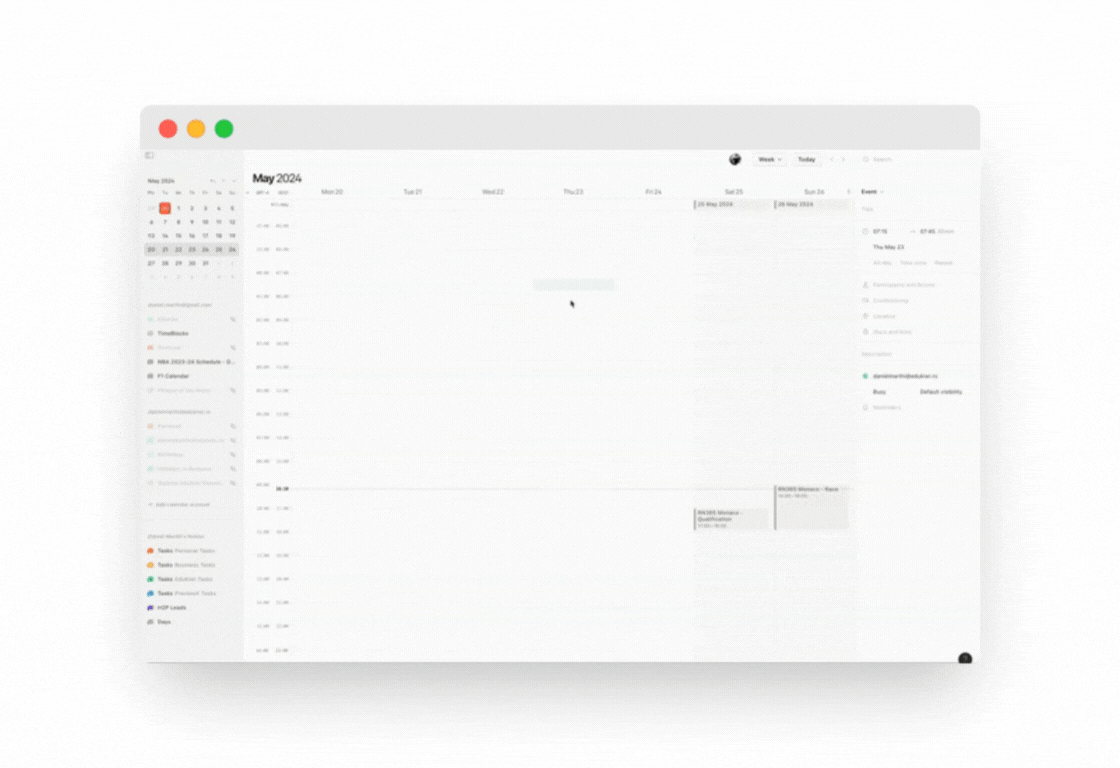
As you can see below I have multiple types of “Tasks”, and “H2P Leads” databases.
In my case I have a the tasks database, where I have different categories/projects for my tasks. I also have a CRM, where I track my leads and sales pipeline.
.png)
Let’s move on and see how you can set your calendar up to have everything in on place like me.
Step 2: Create New Filtered Calendar Views in Notion
This is the most important step that many of you skip, and then later you complain of Notion Calendar being useless.
So listen. Here is the crucial part to understand:
“In Notion Calendar you can connect not only databases, but also separate database views.”
Meaning that you can have one database connected multiple times, with different filters applied to it.
This feature gives us two big solutions:
1. You can filter out Completed tasks.
As you can see on the image below. If you create a calendar view and you filter out the “completed” tasks, then this calendar view will only show active tasks. Then if you connect this view to your Notion Calendar, every time you complete a task, it will disappear from your Notion Calendar!
2. You can use Categories/Projects
As you can see in my case, I have different categories for my tasks database, like personal, business and different projects I work on. So I created different calendar views in Notion, filtering out only the category that I want it to show me. This way, I can add the different categories/projects separately in my Notion Calendar, with different colors.
So basically what you need to do is the following:
→ Create separate Calendar views in your databases, filtering them in a way that shows exactly what you want to see. Nothing more, nothing less.
.png)
Step 3: Connect Your Notion Databases
If you followed the first two steps, then now you know exactly what task lists you want to have in your Notion Calendar. Maybe you want to add your “Tasks” database many times like I did, categorizing it by different life areas or projects. Maybe you want to add a CRM, or learning plan to your calendar.
Either way, here is what you need to do:
1. Add Notion Database
On the left sidebar you can see your connected Notion Workplace. If you click on the 3 dots, you’ll see the option for adding a new notion database. Click on it.
.png)
2. Choose Your Database
At this step, search for the database you want to add to your Notion Calendar.
.png)
3. Choose your Filtered Calendar View
If you did the previous steps correctly, after choosing the database, you should be able to select the filtered view you want to add.
*Note: Only Calendar Views will show up here. If you created list/gallery, etc. view, it won’t work.
.png)
And this is it.
The correct way to set up your Notion Calendar. This way you will have a complete overview of all your Events & Action Items, may it be tasks, chores, sales pipeline, or anything else.
And my favorite part…
Best Feature: Two-Way Sync
If you take your time, think of your workflow, and set up Notion Calendar correctly, it will help you a lot. Not only you will be able to see all you Events & Tasks in the same place in your Calendar, but you will also be able to Create New Tasks right in Notion Calendar.
For example:
If I want to create a new personal task, all I have to do is:
- Click on anywhere in the calendar (this way also scheduling the task already)
- Give it a name. (Right sidebar)
- Select “Personal Tasks” calendar.
This will not only create a new Notion tasks, but also:
- Correctly fill out my “Due” property with the Date & Time
- Correctly select the “Category”
- Gives me a button “Open in Notion” to jump right in the newly created task.
Since I managed to set up my Notion Calendar this way, “almost” all my productivity needs are met.
I hope this short guide will be helpful for you to achieve the same outcome as me.
If you have any question, don’t hesitate to reach out to us.
